The other day I saw this super cute idea for recycled crayons. I used to make recycled crayons when I was little, but they were never this fancy. Anyway, I haven't made them in ages. I thought it would be a fun project for me and goose.
I found it on the Little Blue Boo blog, which I've been reading a ton lately since it was suggested by Lauren @ LaurenDarlings.
In case you didn't see my first link:
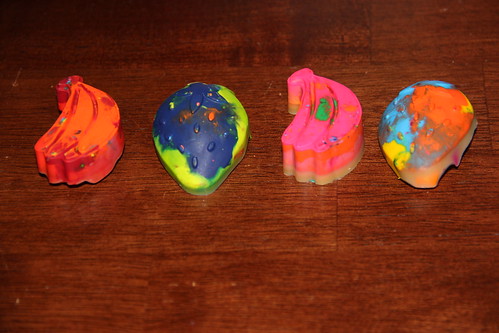
We already had a ton of broken crayons and a silicone mold, so we gave it a try.
If I could make a suggestion, it would be to follow these tips... that LBB published on the Blog. I totally didn't, but wish I would have.
A few tips!
1. The smaller the bits of crayon….the better the result. It will take less time for the crayon bits to melt and the colors won’t mix as much. Chop them up using a sharp knife.
2. Using the lowest heat possible on the oven is ideal…..you’ll just have to be REALLY patient for the bits to melt. 150 to 175 degrees is recommended.
3. Allow ample time for the crayons to cool so they won’t break as you remove them from the mold.
4. Stay away from washable crayons….they have a wax in them that will float to the top. I use them anyways just in very small amounts.
5. Don’t mix too many colors….in case you end up heating the crayons too much you’ll keep the colors brighter. Mixing across the color wheel results in brownish colors!
6. Quality of crayon can make a difference! I had some cheap dollar store crayons that took too long to melt and left some large chunks. The color seemed duller too.
My oven was set to 150 degrees and it took a REALLY long time for them to melt. Even after more than an hour they still weren't melted all the way.
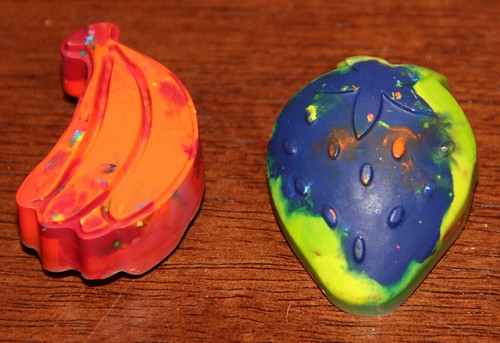
I cranked up the oven to 180 and they started melting a lot better, but looked soupy. I wasn't sure if they were supposed to look that way. I thought all of our crayons were going to be brown.
Also, a lot of our crayons didn't have wrappers, so I couldn't tell if they were washable or cheap or what. But LBB is right. The washable ones do have wax that floats to the top and it's colorless. And they don't melt as well.
Anyway, V was thrilled with our crayons and took them to show-and-tell at preschool. I think they turned out really, really cute for a first try and I can definitely see making them again.
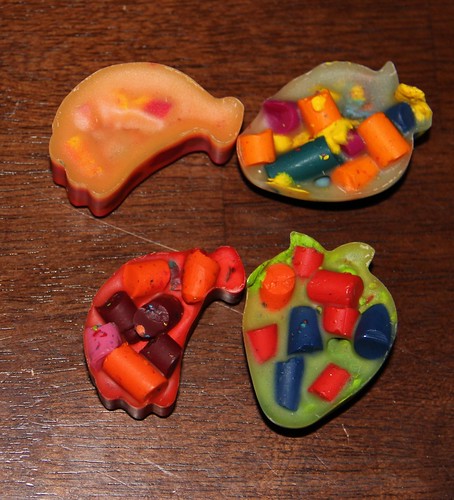
See the back? They wouldn't melt for anything! Next time I'll make the chunks smaller. I even had an idea to melt a color, pour it in the mold, let it dry, melt another color, pour, let dry, etc. to get a rainbow crayon. But that's a lot more time consuming then throwing them in the mold and sticking it in the oven.
Be sure to check out the Little Blue Blog for the tutorial and for tons of fun ideas, and inspiration, as well as an amazing outlook on life.
I have some more fun projects to show you and stuff to post, but that's it for now! Happy Sunday friends!
No comments:
Post a Comment